Booking your first glamping trip should be exciting, but it often turns confusing fast. One site charges $120 a night for a canvas tent with a shared bathroom block down the path, while another asks several times that for a dome with heating, air conditioning and a private en-suite. Add in different peak seasons, minimum stays and cancellation rules, and it is easy to feel overwhelmed before you have even picked a destination.
This guide walks you through the whole decision, step by step. We start by explaining what a glamping site actually offers, from basic safari tents to fully equipped domes and cabins. Then we cover how to choose a location and season that fit your plans, set a realistic budget, and check the amenities that matter most on a first trip. You will also learn how to vet reviews and photos for red flags, and how to book smart with the right timing, minimums and cancellation policies. By the end, you will know exactly what to look for and what to skip.
What Glamping Actually Includes: Tent Types and Comfort Levels
The biggest mistake first-timers make is assuming all glamping units offer the same comfort level. They do not, and the differences show up the moment you arrive, tired and ready for a hot shower. Before you fall in love with a photo, work out what each unit type typically includes.
The basic end: safari tents and bell tents
Safari tents and bell tents are the classic glamping image: canvas walls, real beds, and usually some furniture like a small table or chairs. What they often lack is plumbing. Bathrooms are typically shared or in a nearby block, which means a walk, possibly in the rain or dark. These units suit travelers who want the camping atmosphere with a comfortable bed, and who do not mind communal facilities.
The comfort end: domes and cabins
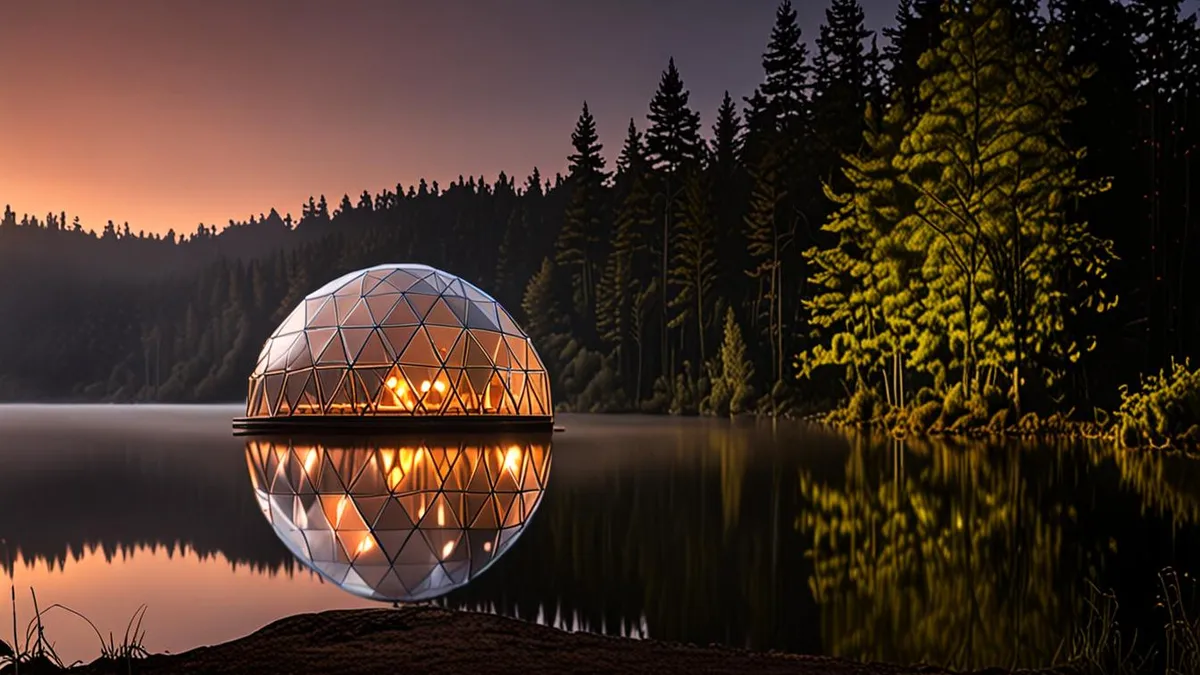
Geodesic domes and cabin-style units sit a clear step up. They often include heating, air conditioning and sometimes a private en-suite bathroom, which changes the experience completely in cooler months or for longer stays.
In between, you will find airstreams, yurts and treehouses, which vary widely from one site to another. This is why the unit description matters more than the marketing photos. A glossy gallery can make a basic tent look luxurious.
Our advice: decide your minimum comfort level before browsing. Four features separate basic from luxury sites: electricity, a real mattress, a private toilet and climate control. Rank them by importance, then filter your search accordingly. If a private bathroom is non-negotiable for you, say so in your search from the start, and you will avoid disappointment on arrival.
Choosing the Right Location and Season for a Glamping Site
Location and timing shape your trip more than any other decision. A stunning tent in the wrong spot, at the wrong time of year, can turn a getaway into a washout. Here is how to get both right on your first attempt.
Keep your first trip close
For a first glamping trip, aim for a site within 1 to 2 hours of a city. If the weather turns bad or the unit disappoints, you have not wasted a long journey, and you can simply head home early without the trip feeling ruined. Short distances also make it easier to squeeze a one- or two-night stay into a normal weekend. Sites within 1 to 2 hours of a major city sell out fastest for summer weekends, which tells you how popular this approach is. For inspiration on what a well-located, high-comfort stay looks like, this guide to glamping cabins with views of Mount Fuji shows how a great setting and comfort can combine.
Timing your dates
The peak glamping season in most temperate regions runs May to October. That is the safe window for first-timers, but consider the shoulder months of May, September and early October. You typically get milder weather, lower rates and fewer crowds than midsummer, which matters when popular sites fill up months ahead.
One detail many first-timers overlook is elevation and exposure. Lakeside and mountain sites can run 5 to 10 degrees cooler at night than the nearest town, so pack warmer layers than the town forecast suggests.
Finally, look at what is actually around the site: hiking trails, lakes, hot springs or similar. Most glamping stays last only 1 to 2 nights, so you will want activities within easy reach rather than spending your whole trip driving.
Setting a Realistic Budget: What a Night of Glamping Costs
Glamping prices vary enormously, and the sticker rate rarely tells the whole story. Understanding the typical ranges, and what sits behind them, helps you compare sites fairly and avoid a nasty surprise at checkout.
At the budget end, expect $100 to $200 per night for a furnished tent with shared facilities. This usually covers a real bed, basic furniture and access to a communal bathroom block. At the luxury end, budget $300 to $800 per night for domes or cabins with private bathrooms, climate control and catered meals. The gap between the two is not just marketing: you are paying for plumbing, insulation and often food service.
Before you compare any two sites, make sure you are comparing like with like. These are the extras that most often change the real price:
- Per-person pricing: some sites quote a base rate for one or two guests and charge extra for each additional person, so a tent that looks cheap for a couple can double for a family of four.
- Add-on fees: firewood, breakfast or bedding fees can add $20 to $50 per person per night, turning a mid-range tent into a near-luxury total cost.
- Day-of-week pricing: weekend rates often run 30 to 50 percent higher than midweek, so shifting your stay to Sunday through Thursday can free up budget for a better unit.
- Meal plans: a lower nightly rate with mandatory catered meals may cost more overall than a higher rate where you cook for yourself.
Our practical tip: always calculate the total for your exact dates and group size, including every add-on you actually want. A site that looks 30 percent cheaper on the headline rate can end up costing more once the per-person charges and extras are added in. Ten minutes with a calculator before booking saves both money and frustration later.
Checking Amenities That Make or Break a First Glamping Trip
The bathroom situation is the amenity that most often surprises first-timers, so pin it down before you book. Some units come with a private en-suite bathroom just steps from your bed, while others share a washroom block that requires a walk across the site, flashlight in hand. If you are traveling with a group or another couple, ask whether the shared facilities are dedicated to your units or open to the whole campground, because a long line for a morning shower changes the mood fast.
Heating and cooling matter more than most people expect. A tent that feels dreamy on a warm July night can turn miserable when temperatures drop after sunset, especially in spring or fall. Check the unit description for a heater, wood stove or air conditioning, and if the listing is silent on climate control, message the site directly and ask what the nights are typically like in your travel window.
Then think about how you will actually live in the space after dark. The practical extras below are easy to overlook when browsing photos, yet they shape your comfort more than a fancy deck chair ever will:
- Lighting: look for units with interior lights plus a lantern or pathway lighting outside, since stumbling around a dark field after dinner gets old quickly.
- Power outlets: confirm there is at least one outlet or USB port inside the unit for charging phones and cameras, not just a single shared socket at the main lodge.
- Mosquito screens: mesh on windows and doors lets you sleep with airflow instead of choosing between stuffy air and biting insects.
- Covered porch or lounge area: a roofed outdoor space gives you somewhere to sit during a rain shower, which can otherwise trap you inside a small tent for hours.
If cooking is part of your plan, treat the kitchen setup as a dealbreaker question. Some units include a private kitchenette or BBQ grill, while others offer only a communal camp kitchen shared with the whole site. Ask specifically whether cookware, utensils and basic supplies like oil and salt are provided, because hauling a full kitchen kit defeats the point of a light-and-easy getaway. When in doubt, plan simple meals or choose a site with nearby food options so a missing spatula does not derail dinner.
Vetting Quality: Reviews, Photos and Red Flags Before You Commit
Reviews are your best defense against a disappointing first glamping trip, but don’t just skim the star ratings. Most booking platforms let you search reviews by keyword, so type in “clean,” “dirty,” “noise” and “rain” before you book anything. Cleanliness, noise and weatherproofing are the three issues that most often let first-timers down, and a single detailed review mentioning a musty tent or a neighboring group partying past midnight tells you more than a dozen generic five-star ratings.
Guest photos deserve just as much attention as the official ones. Marketing shots are usually taken with wide-angle lenses, which can make a tent or deck look dramatically larger than it really is. Scroll through traveler-uploaded photos and look for shots taken from inside the unit, since these show the true amount of floor space and how worn the furnishings actually are. If recent guest photos consistently look smaller or shabbier than the listing, trust the guests.
How the site handles bad weather
Rain is the real test of a well-run glamping operation. Look for signs of thoughtful design in the photos and descriptions: covered walkways between units, an indoor or sheltered lounge space, and all-weather paths that don’t turn into mud. Sites that only show sunshine-and-sangria imagery may not have put much thought into what happens during a stormy night. A quick message asking “what’s the rainy-day setup?” often reveals how prepared the operators really are.
Finally, read the fine print before you commit. Pet policies, age minimums for children, quiet hours and campfire rules vary widely between sites, and some enforce them strictly. If you’re traveling with a dog or hoping for a late-night fire, confirm it in writing rather than assuming. Ten minutes of reading house rules now saves an awkward conversation at check-in.
Booking Your Glamping Site: Timing, Minimums and Cancellation Policies
Glamping sites run on tight inventory: a property with ten tents can only host ten parties, so the good units go fast. That scarcity shapes everything about booking, from when you reserve to how flexible your cancellation rights are. Here is how to approach the process so you get the unit you want without unpleasant surprises.
- Book 3 to 6 months ahead for peak-season weekends. Most popular sites open their reservation calendars well in advance, and the best units at the most sought-after properties sell out first. If you have your heart set on a specific dome or a prime-position tent for a summer Saturday, reserving early is the difference between choice and compromise.
- Plan around the 2-night weekend minimum. Many sites require a two-night stay on Fridays and Saturdays, which can turn a quick overnight into a longer commitment. If you only want one night, target a Sunday or midweek check-in instead. You will often find shorter stays possible and better rates outside the weekend rush.
- Read the cancellation policy before you pay. Because a single empty tent represents a large share of a small property’s revenue, glamping sites frequently enforce stricter terms than standard hotels. Some may offer partial refunds only up to a certain point before arrival, or credit toward a future stay rather than cash back. Know exactly what you are agreeing to, especially for a peak-weekend booking.
- Message the site before booking if you have special needs. Accessibility requirements, dietary requests for catered meals, or questions about a specific unit are all worth raising in advance. A quick message confirms whether the site can actually accommodate you, and it gives you a written record of what was promised.
A little communication upfront goes a long way. Sites that respond quickly and clearly to pre-booking questions tend to be the same operations that run smoothly once you arrive, so treat that first exchange as part of your vetting process. Once you are satisfied with the answers, book with confidence and start looking forward to the trip.
Your First Glamping Trip, Sorted
Glamping can feel like a big leap if you have only ever slept in a traditional hotel, but the good news is that your first trip does not require expert-level planning. The sections above give you the full toolkit, from choosing a unit type to reading the fine print before you pay. If you take away just one thing, let it be this: know your comfort floor before you browse, because everything else follows from it.
It also helps to treat your first glamping stay as a test run rather than a once-a-year splurge. A shorter trip close to home teaches you how you sleep in a tent, whether you mind shared facilities and how much space you actually need, all without a long drive home if things go sideways.
Once you have one successful stay under your belt, you can push further afield, try a more remote site or upgrade to a fancier unit with confidence. Got a first glamping trip planned, or a question we didn’t cover? Leave a comment or share this article with a friend.